15 May Create a Little Magic with Watercolor
Our guest blogger is Susan Bartel. Susan, a signature member of the Kansas Watercolor Society, is a watercolor artist specializing in telling visual botanical stories. She’s come up with an easy watercolor project for kids who want to discover this captivating art. Check out Susan’s website—especially her sunflowers and peonies!—to see more of her award winning work.
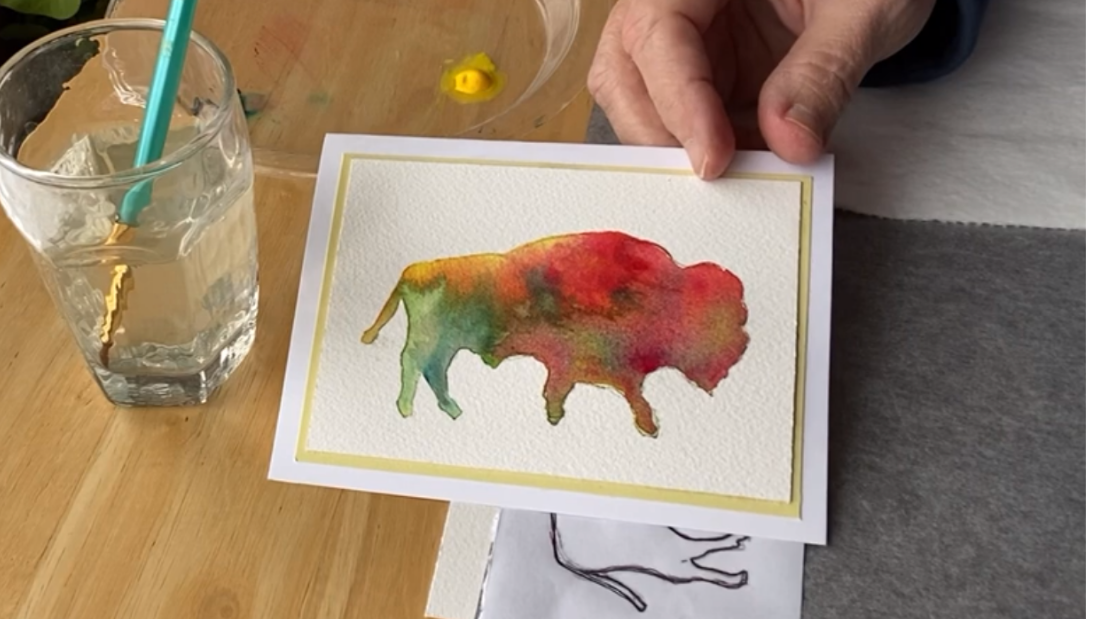
Summer is coming. Finally! Now is a great time to inspire kids to explore new interests. Here’s an easy watercolor project for kids who want to try their hand at this magical art. For more detail, my short video gives instruction for how to paint a buffalo. This can end up being a work of art on its own, or it lends itself well to creating beautiful, handmade greeting cards.
Here are a few hints that will make the process more successful:
- Use the right paper. It’s important to use at least 140 pound paper. But not all watercolor paper is created equal. I prefer Arches or Strathmore.
- Use just a few colors. It’s a great introduction for budding artists to see how colors mix and to see that every color is just a combination of other colors. (It’s always a good idea to slip in a little STEAM instruction, right?) I do all of my watercolors with just three colors. I use Winsor Newton paint and prefer Winsor Yellow, Winsor Blue (green shade), and Permanent Rose.
- Don’t spend big on brushes. Surprisingly, you don’t have to. For this project, I like to use a round brush that comes to a good point. For beginners, you can pick up inexpensive brushes even from Walmart.
While my video shows how to watercolor a buffalo design, for this exercise a sheep, caterpillar, or maybe a shaggy dog would work equally well. The idea is to choose something that will be a bit forgiving if the beginning painter “paints outside the line.” Whether you’re six or sixty, this is a good tip.
These are the simple steps for producing real art:
Trace the shape onto the watercolor paper. You can freehand your design if you prefer, but there are a gazillion templates on the internet. So pick your animal and go. 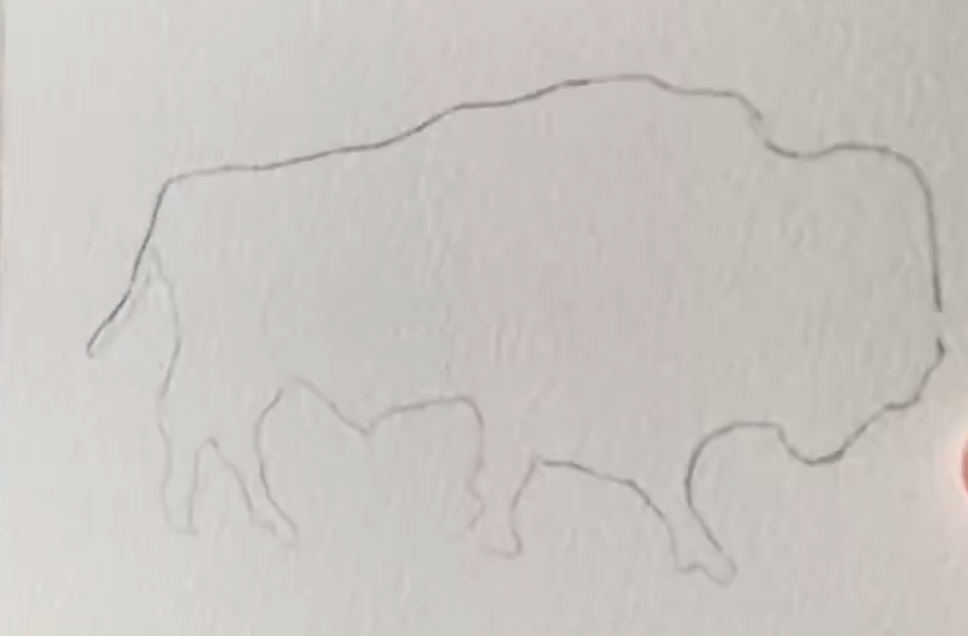 Wet the entire area inside of the shape so that it’s shiny wet with the water. This will hold the color in place.
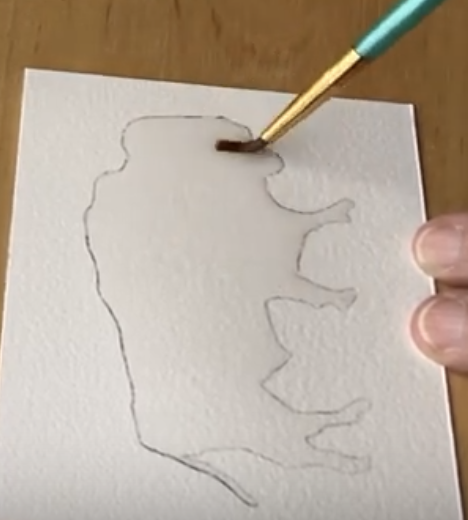 Now add color. You can begin with a single color—yellow is a good one to start with and then layer on the darker colors in different places on the animal. The idea is that, as long as the outline is recognizable, you can use your imagination and just play with the colors (with the caution that too much “play” and not enough “wait and see” is a good way to get a muddy brown). It’s better to work on more than one painting subject at a time if patience isn’t your thing (and patience is so hard for kids).
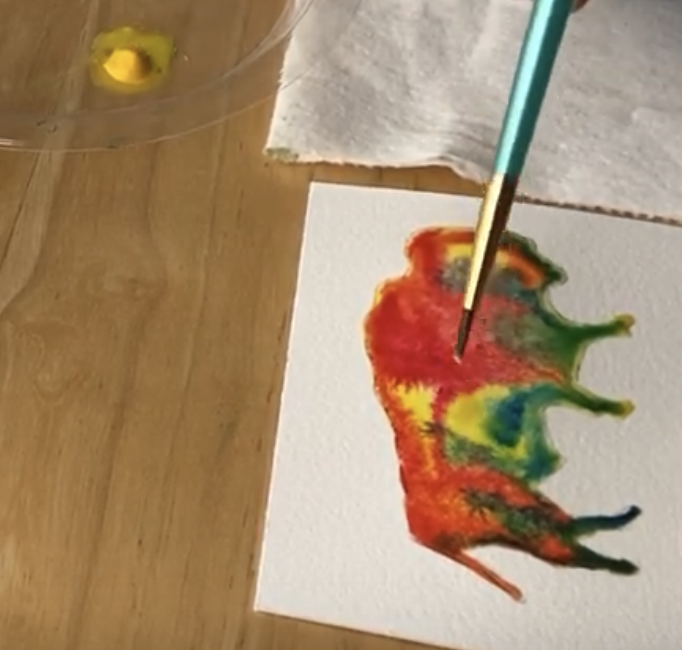
A fun added idea is to use coarsely ground sea salt at the end. As it absorbs the color, it’ll create an interesting pattern in the paint and give it some texture. Be sure to wait to till the paint dries before you scratch the salt off the design. 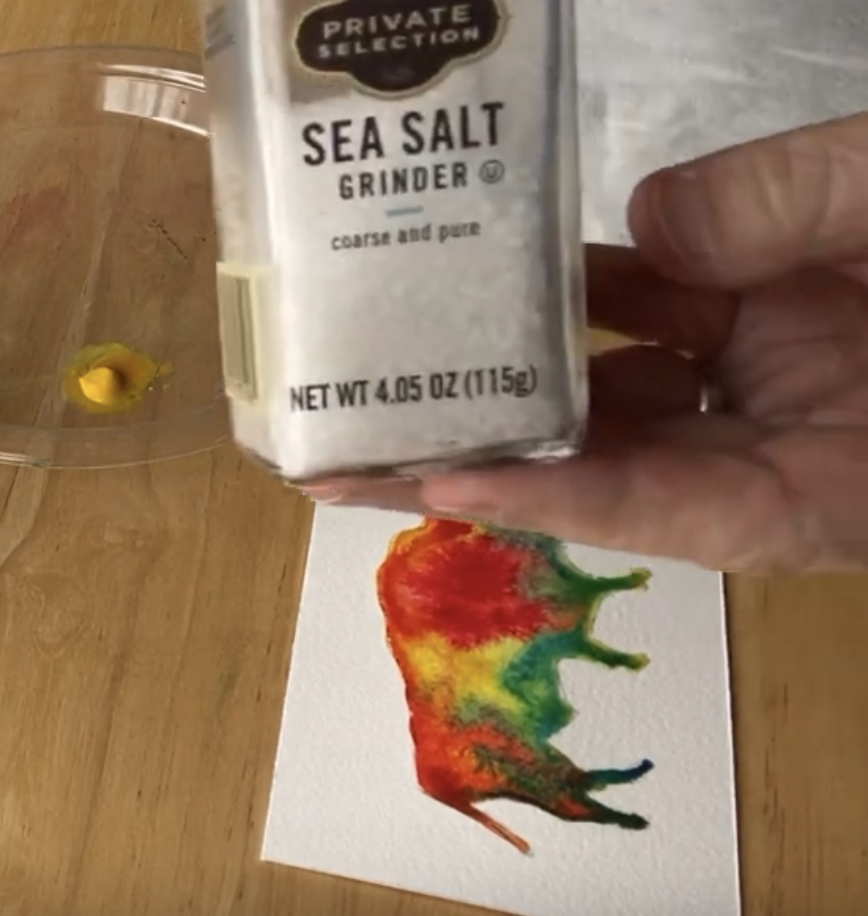 Watercolor is just a bit of playing with magic. Relax, have fun, and see where the colors take you!
For more instruction on watercolor, her YouTube channel has other ideas. Susan describes painting as her way of exploring the world, whether it’s capturing the light at that just-right second or exploring details often overlooked. Moments of awe in the familiar, the common, are her inspiration. Her work conveys the emotion she feels when noticing and experiencing these slices of time. She’s learned that what she has not painted, she has not really seen—an inspirational idea for all of us.
As an Amazon Associate, we get commissions for purchases made through links on this post.